


Related Guides

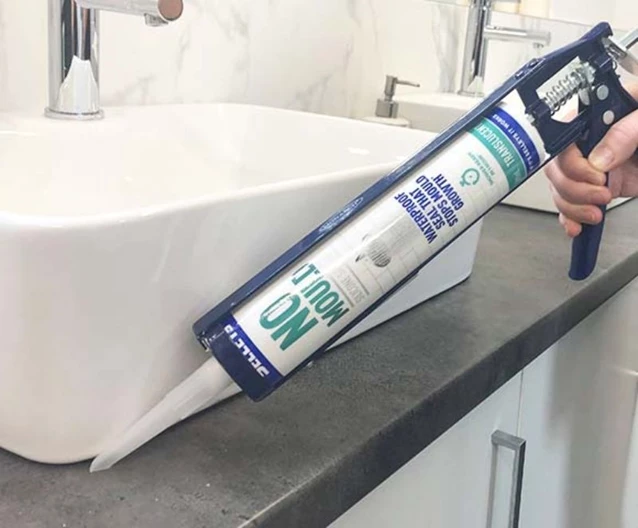
How To Use A Caulking Gun
Whether you have a shower that needs re-sealing or some gaps to fill, it's likely a caulking gun will need to be part of your arsenal. If the thought of using a caulking gun makes you nervous, we here are 4 steps to have you caulking like a pro.
How To Seal a Sink
Getting a proper seal around your sink prevents water penetration. Here’s the best way to ensure a complete seal around your sink area to make it easier to clean and less prone to water damage and discolouration.
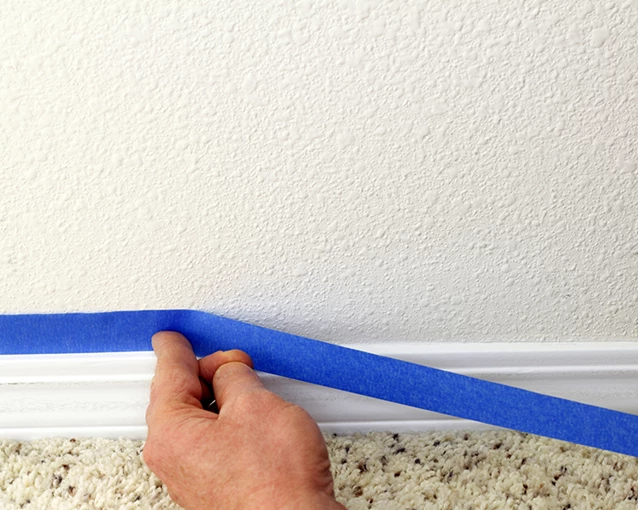
How To Prepare Your Walls For Painting
When looking to repaint your walls, you might be tempted to just pick up a brush and go. But the key to achieving a smooth finish lies in the preparation. Here are a few painting fundamentals that can save you valuable time and effort.
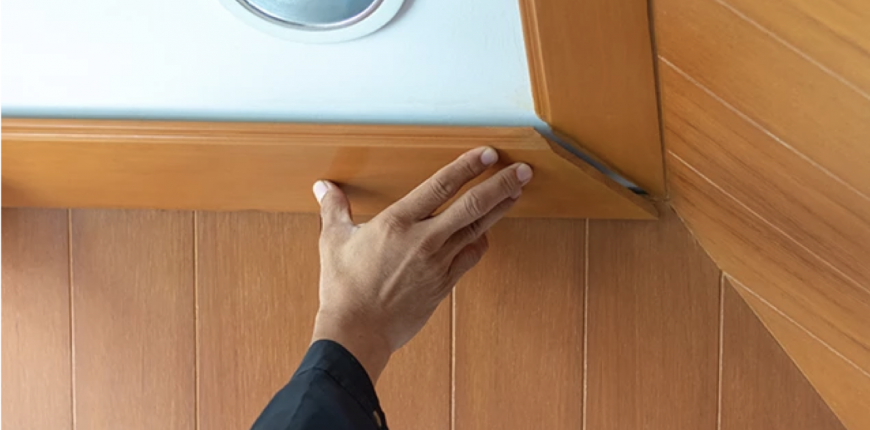
How to Install Cornices
Cornices can really add to the character of the room. Installing them has never been easier! Here is a step by step guide.
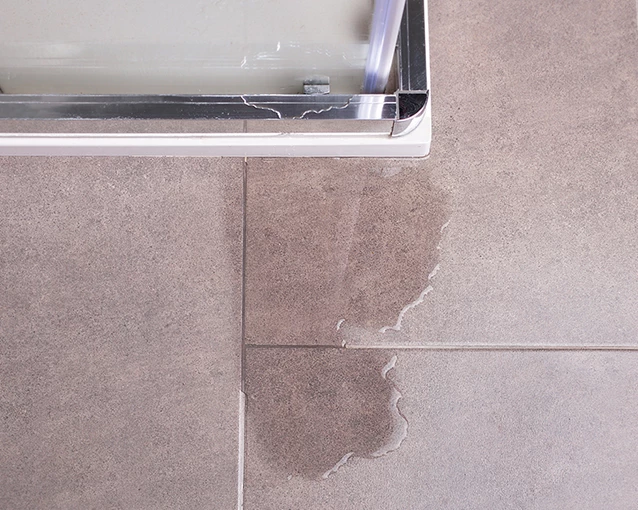
How to Fix a Leaking Shower Repair a Leaking Shower
If taking a shower leaves your bathroom floor wetter than your shower recess, it's likely you have a leak! Luckily there's an easy fix - and with Selleys Wet Area Speed Seal, you can be back using your shower within an hour.
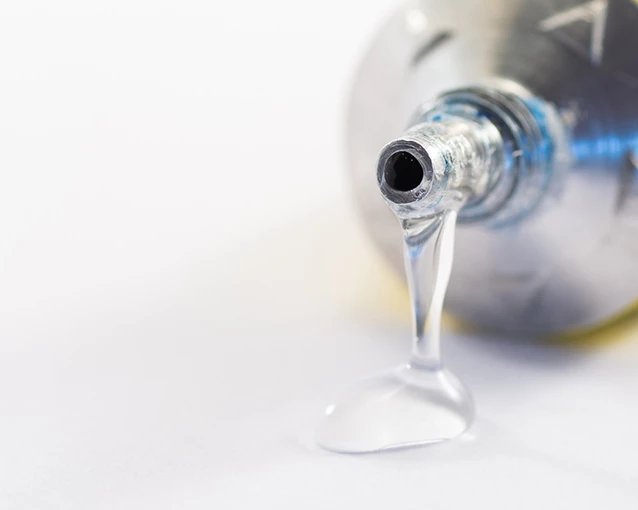
Glue Guide 101
Selleys can ensure the bond between your DIY home renovations, broken fixtures and woodwork stay strong. Read our guide and we’ll show you how to navigate through these sticky situations.
Related Guides
How To Use A Caulking Gun
Whether you have a shower that needs re-sealing or some gaps to fill, it's likely a caulking gun will need to be part of your arsenal. If the thought of using a caulking gun makes you nervous, we here are 4 steps to have you caulking like a pro.
How To Seal a Sink
Getting a proper seal around your sink prevents water penetration. Here’s the best way to ensure a complete seal around your sink area to make it easier to clean and less prone to water damage and discolouration.
How To Prepare Your Walls For Painting
When looking to repaint your walls, you might be tempted to just pick up a brush and go. But the key to achieving a smooth finish lies in the preparation. Here are a few painting fundamentals that can save you valuable time and effort.
How to Install Cornices
Cornices can really add to the character of the room. Installing them has never been easier! Here is a step by step guide.
How to Fix a Leaking Shower Repair a Leaking Shower
If taking a shower leaves your bathroom floor wetter than your shower recess, it's likely you have a leak! Luckily there's an easy fix - and with Selleys Wet Area Speed Seal, you can be back using your shower within an hour.
Glue Guide 101
Selleys can ensure the bond between your DIY home renovations, broken fixtures and woodwork stay strong. Read our guide and we’ll show you how to navigate through these sticky situations.