


Related Guides

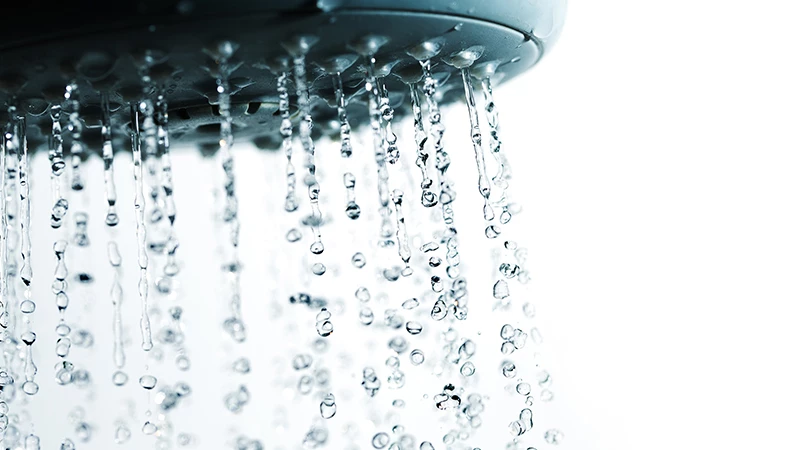
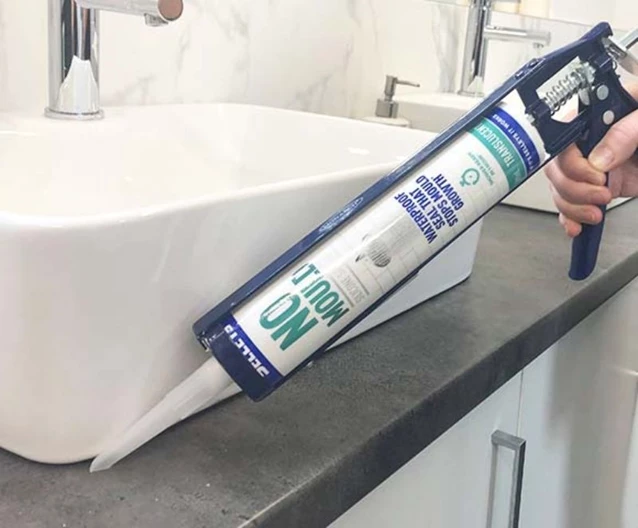
How To Use A Caulking Gun
Whether you have a shower that needs re-sealing or some gaps to fill, it's likely a caulking gun will need to be part of your arsenal. If the thought of using a caulking gun makes you nervous, we here are 4 steps to have you caulking like a pro.
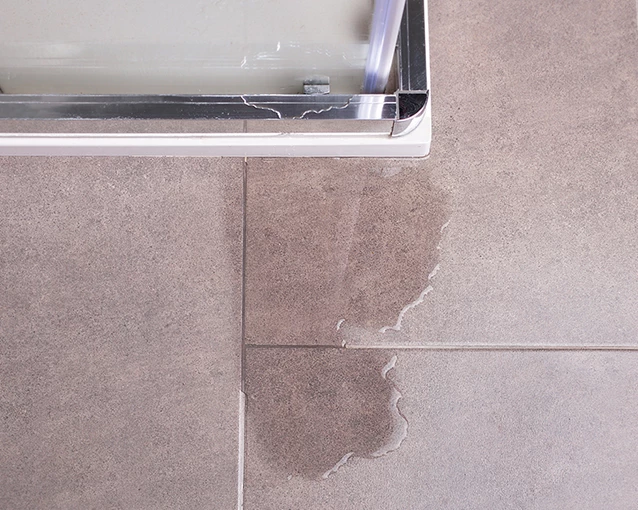
How To Seal a Sink
Getting a proper seal around your sink prevents water penetration. Here’s the best way to ensure a complete seal around your sink area to make it easier to clean and less prone to water damage and discolouration.
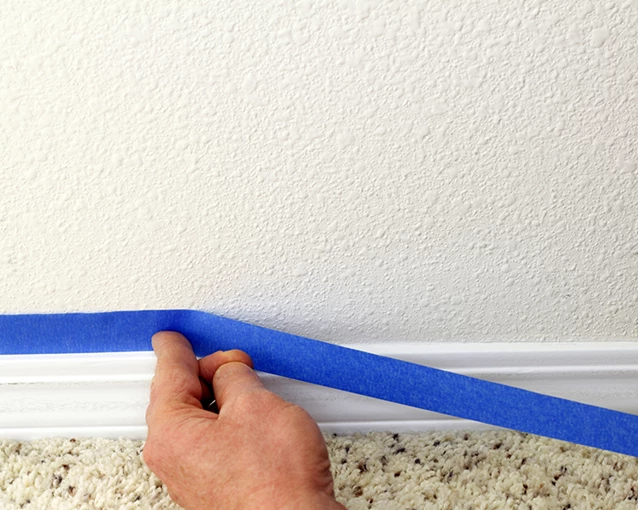
How To Prepare Your Walls For Painting
When looking to repaint your walls, you might be tempted to just pick up a brush and go. But the key to achieving a smooth finish lies in the preparation. Here are a few painting fundamentals that can save you valuable time and effort.
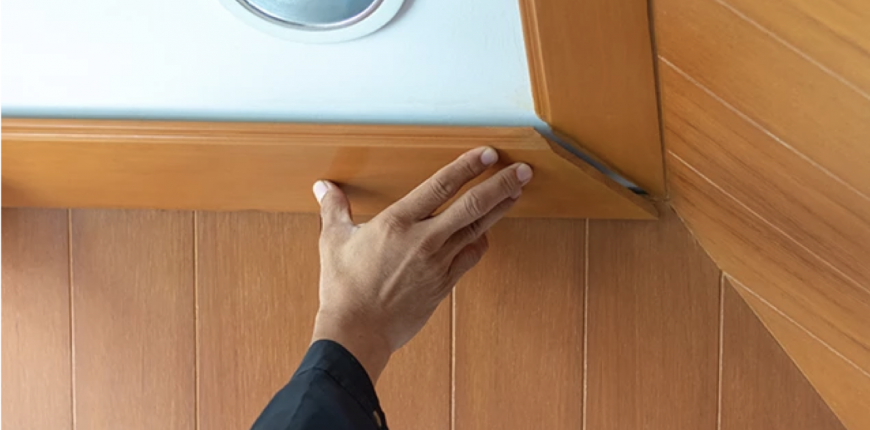
How to Install Cornices
Cornices can really add to the character of the room. Installing them has never been easier! Here is a step by step guide.
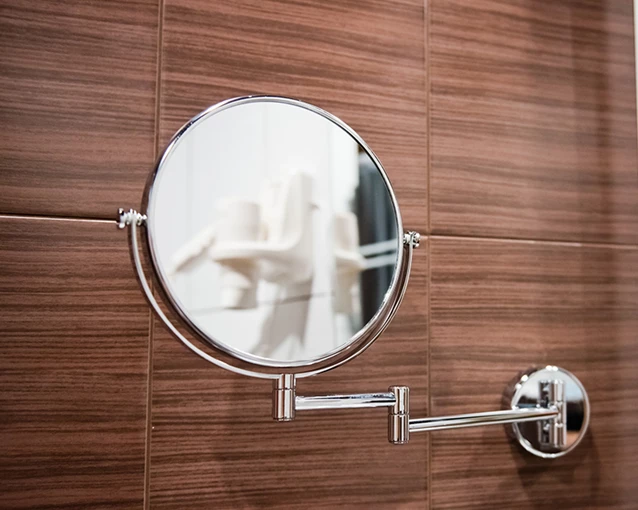
How To Install Bathroom Accessories
Want to install some accessories in your bathroom but you’re too afraid of drilling into your tiles? Fear no more – Selleys Hold Up is here! Follow this step by step guide to installing bathroom accessories like a pro.
Related Guides
How To Use A Caulking Gun
Whether you have a shower that needs re-sealing or some gaps to fill, it's likely a caulking gun will need to be part of your arsenal. If the thought of using a caulking gun makes you nervous, we here are 4 steps to have you caulking like a pro.
How To Seal a Sink
Getting a proper seal around your sink prevents water penetration. Here’s the best way to ensure a complete seal around your sink area to make it easier to clean and less prone to water damage and discolouration.
How To Prepare Your Walls For Painting
When looking to repaint your walls, you might be tempted to just pick up a brush and go. But the key to achieving a smooth finish lies in the preparation. Here are a few painting fundamentals that can save you valuable time and effort.
How to Install Cornices
Cornices can really add to the character of the room. Installing them has never been easier! Here is a step by step guide.
How To Install Bathroom Accessories
Want to install some accessories in your bathroom but you’re too afraid of drilling into your tiles? Fear no more – Selleys Hold Up is here! Follow this step by step guide to installing bathroom accessories like a pro.